Dashboard Once signed up, you’re ready to start creating your shiny profile. Find and click on the profile picture in the upper right corner of the menu to access your dashboard.
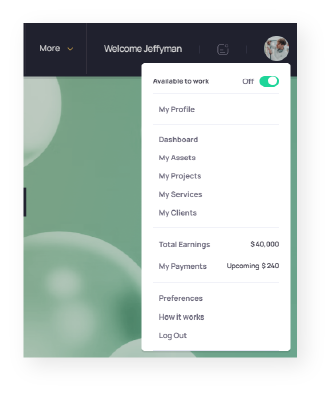
Click on “Preferences” to tidy up your public profile. Remember, the more details you have, the more trust you’ll build when working with clients. So be sure to put your best foot forward.

Under “General” preferences, you can add a profile picture. A great professional photo often results in a faster connection and builds trust from the get-go. So we encourage you to use a nice photo of yourself to maximize your connection chances. 📸✨
Fill out the rest of the details as they are self-explanatory.
Claim a platform URL to make your profile more discoverable. It’s on a ‘first come, first served’ basis, so don’t miss out! 📎
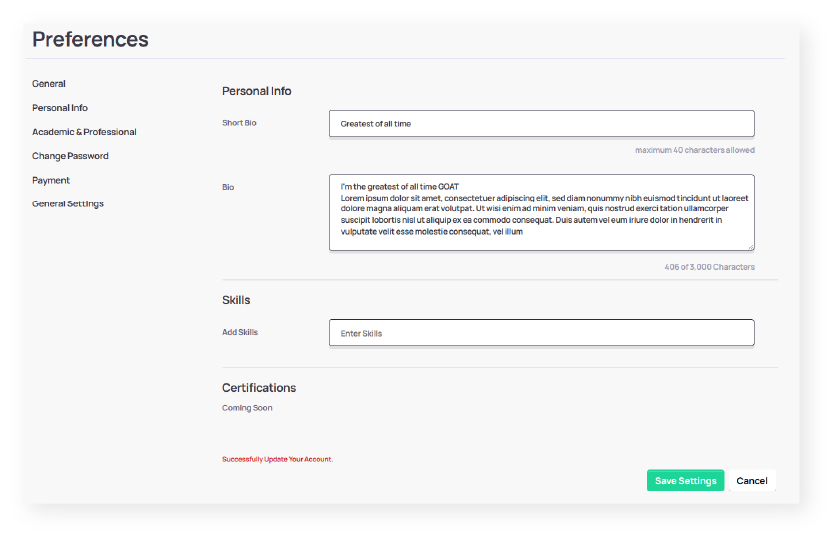
Craft a compelling bio that tells your story to potential clients. It’s like a slogan for your profile, so let your creativity shine while staying ethical. 🌟
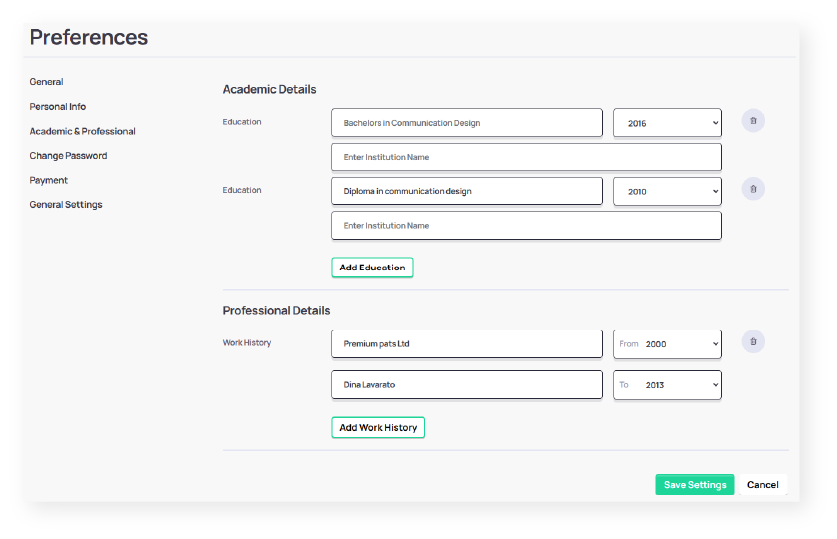
Highlight your expertise by adding academic and experiential details. This gives clients a sense of your skills and experience. 🎓💼
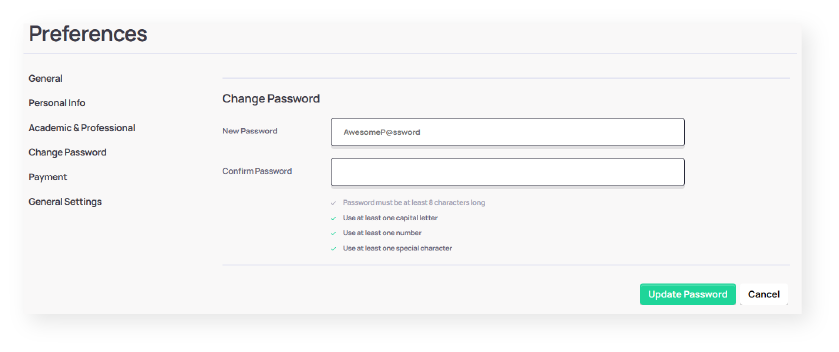
Manage your password and payout methods.
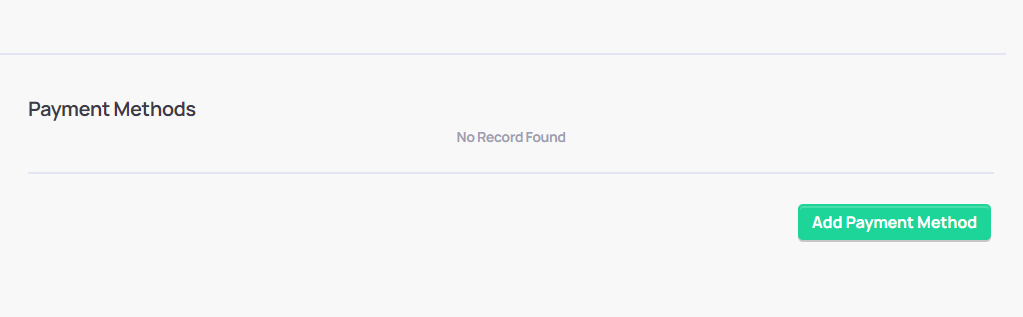
All creators can receive payouts via PayPal and WISE. Simply add your relevant payout email to receive your earnings. 💰💳
If you do not have those payment accounts you can create one at PayPal or WISE.
Control how you receive notifications about site activities in the general settings. Manage your notifications here. 🔔
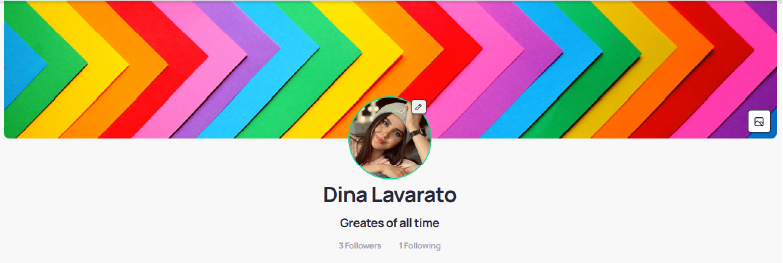
Add a stylish cover photo to your public profile. A captivating cover image can speak volumes about your style and skills, so feel free to get creative! To update the cover image, simply click on the icon on the right and upload your image. 🎨🖼️