Asset Upload
Your assets are both active and passive income generators. Uploading a creative asset is easy.
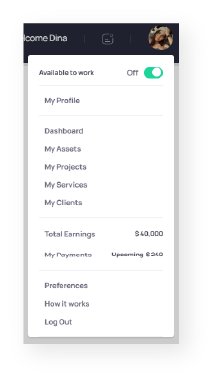
Simply click on “My assets” from your profile menu.

From here click on “Upload Asset” button.

When uploading an asset be sure to put as much details as possible while choosing the right variable for the sale of this asset.
- Choose a good title that works for the nature of the asset being uploaded.
- Describe the asset and its possible usage along with any information regarding the file formats you’ll upload or you can additionally provide for any additional cost.
- Choose if the asset is “Exclusive” or “Non-Exclusive”. Exclusive assets are sold only once and are removed from site upon sale, while non-exclusive assets potential sell to multiple clients over and over.
- Enter your price for the asset. Note: Exclusive assets are usually higher in price than non-exclusive assets.
- Choose availability for customization. Choosing “available for customization” means clients can contact you if they need your help to change certain aspects of the uploaded asset. You can discuss with them and provide them a quote for the cost of customizing the asset.
- Upload Souce files. You can choose multiple source files or upload one zip for all the files.
- Upload a preview file.
- Choose the category and sub-category your asset belongs in and enter search tags for the asset. Be specific about your search tags as they will help your asset appear in various search queries by clients.
- Press “Upload Asset” and you’re done. Get ready to get an offer 😉
![]()